


products viewed


Installing car acoustics in trucks![]()


Car compressors: tips for effective use![]()

Car alarms for electric vehicles![]()
TOP-5 Mistakes When Installing Car Soundproofing Yourself
DIY soundproofing is a popular way to save money and improve comfort in a car. However, in practice, improper installation often leads to minimal or no effect at all. Below are the most common mistakes beginners make and tips on how to avoid them.
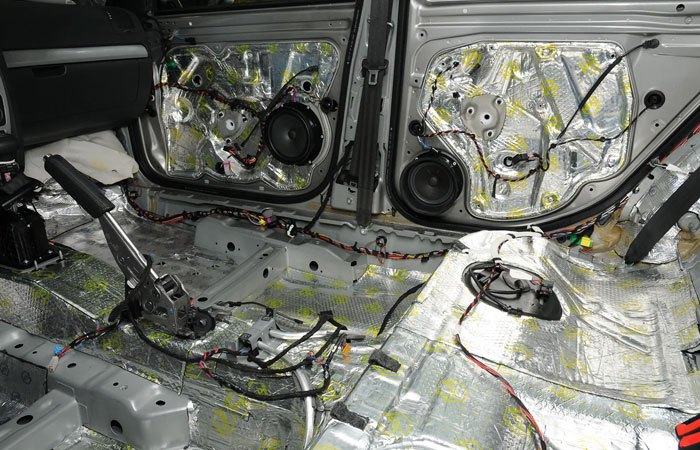
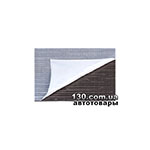
1. Skipping the vibration insulation layer
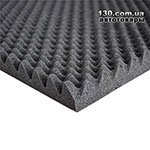
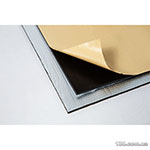
One of the most critical mistakes is skipping the vibration insulation layer. Many believe that simply applying a sound-absorbing material will immediately make the cabin quieter. But if vibrations are not dampened, sound waves continue to travel through the body, and soundproofing does not deliver the desired result. Vibration insulation should always be the first layer.
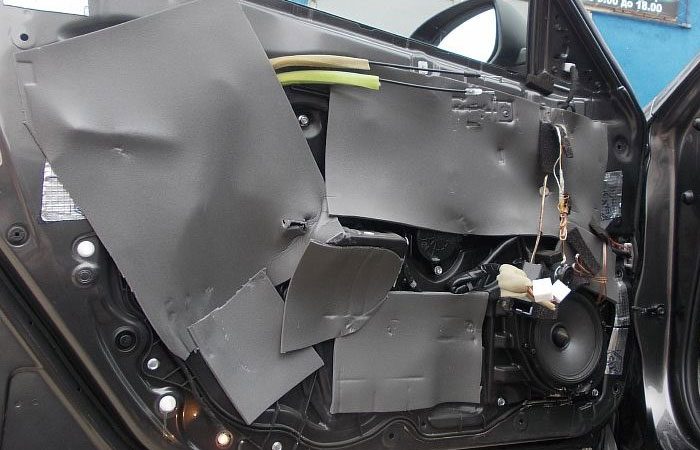
2. Poor surface preparation
If the metal is not properly cleaned from dust, dirt, grease, or moisture, the materials simply won’t adhere or will peel off after a few weeks. Proper preparation involves thorough cleaning, degreasing, and drying of the surface before installation.
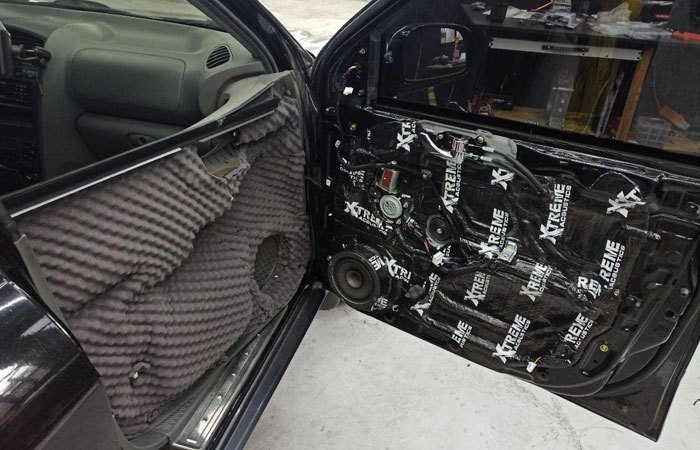
3. No pressure rolling during installation
Even when using high-quality materials, a roller is a must. Consistent pressure and rolling are necessary for the vibration insulation to bond properly with the metal and work as a damper. Otherwise, air pockets will remain under the material, causing vibrations to amplify instead of being reduced.
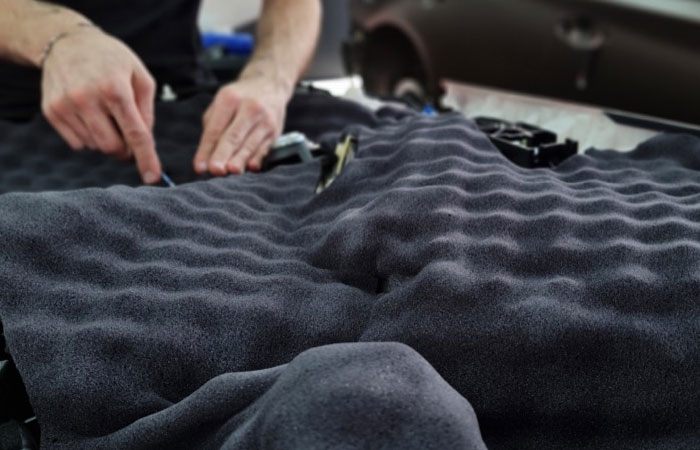
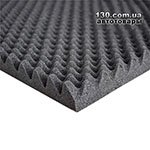
4. Using the wrong material
Using material that is too thin or cheap, or not suited for a specific zone or function, is another common mistake. For example, using low-temperature-resistant soundproofing on the hood or wheel arches will result in it peeling off quickly. Materials should match the temperature, humidity, and area of application.
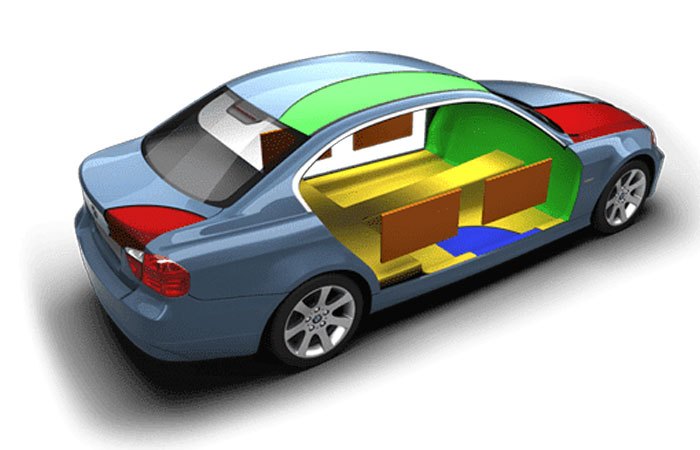
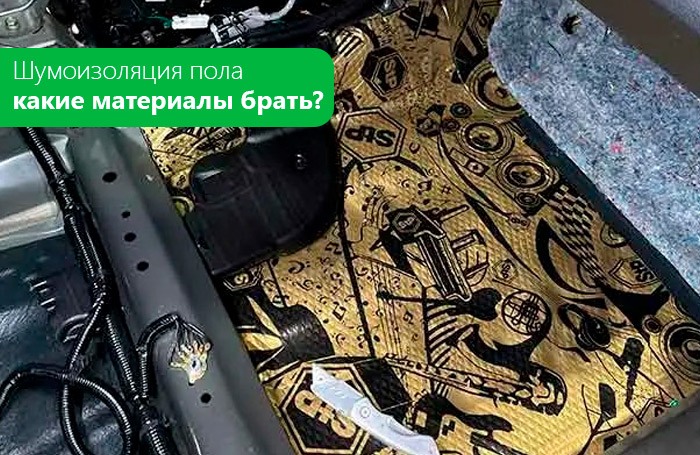
5. Ignoring important areas
Beginners often treat only the doors or the floor, overlooking other critical areas like the arches, trunk, or roof. Partial soundproofing delivers partial results and can even worsen the experience — one part of the cabin is quiet, while another is noisier than before.
How to avoid these mistakes?
Here are some practical tips:
- Always start with vibration insulation, followed by sound absorption;
- Prepare the surface properly: clean, degrease, dry;
- Use a roller to apply even pressure to each sheet;
- Choose materials based on the specific area: arches, doors, hood, floor, etc.;
- Think in systems: soundproofing is not about isolated spots, it’s a full system.
At 130.com.ua, you’ll find proven materials that are easy to install yourself — from vibration damping sheets to heat-resistant sound absorbers. Each zone can be matched with the right thickness and material type.
Conclusion
DIY soundproofing is a real way to improve your car’s acoustics and reduce cabin noise without large expenses. But the result depends not only on your effort but also on the quality of execution. Even the most expensive materials are useless if applied to a dirty surface or installed in the wrong order.
Follow the correct installation process, use suitable materials, and start with the priority areas — the result will speak for itself.
Feature articles